Clarification: This is a blog about software for physical stores, but I wanted to publish this article not only to show how much we care about security at catinfog, but also to give back to the internet community some of the much it has given us.
Until recently it was a tradition among hardware key users to use gpg to securely connect via ssh to their servers. Only those who have used gpg-agent or similar know how many bugs it gives and how cumbersome it was to configure.
Now with Fido2 everything is extremely simple and secure. We can use an ssh key with the default agent of linux, windows or mac. You can generate keys with a single command, download them from your usb key with another command on any computer no matter how insecure it is and connect to your server without any danger of key theft.
Fido2 ssh keys can be used for the same purposes as traditional ssh keys: Connecting to github or servers, etc…
The only conditions to carry out this tutorial are:
- Both your computer and your server must have openssh 8.3 version at least.
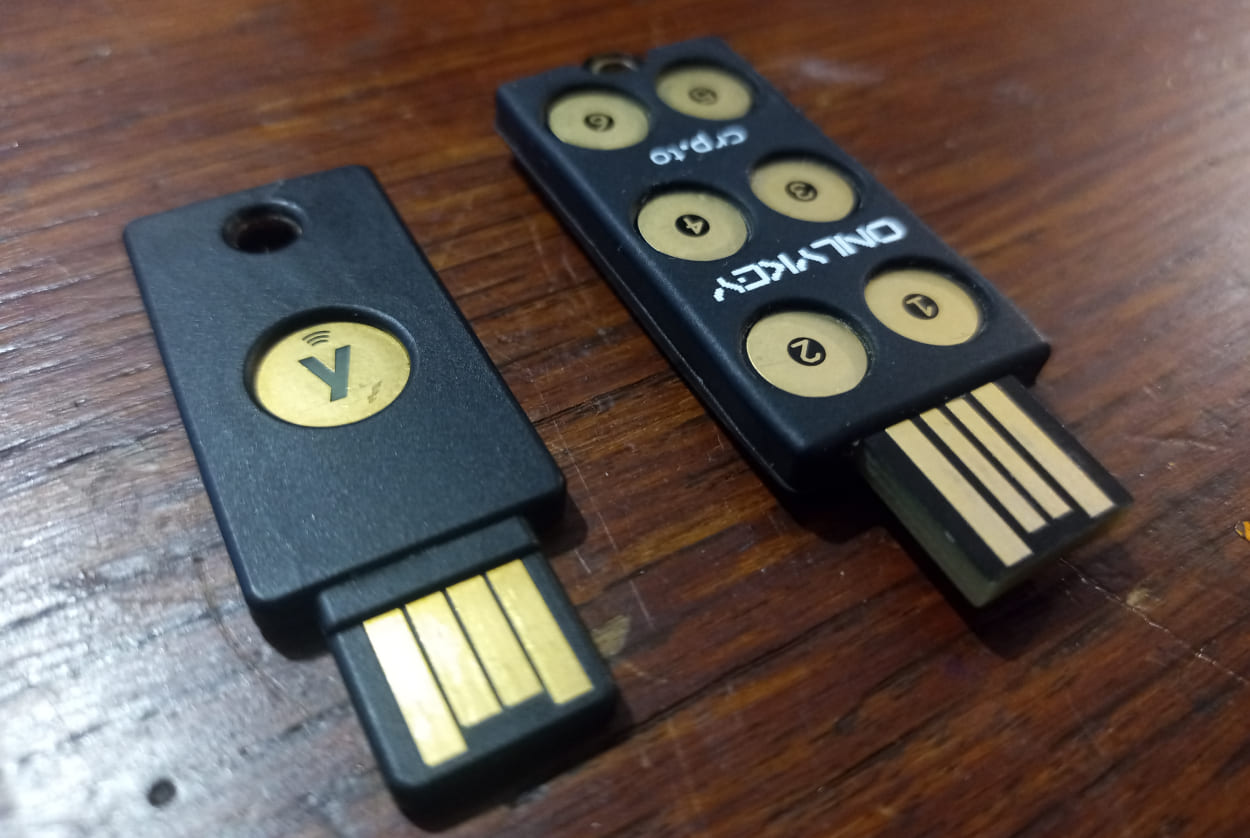
- You have a hardware key such as Onlykey or Yubikey.
- A safe environment could be your computer disconnected from the internet. But if you want to make it perfect you need an airgap with Tails. For this you need:
- An airgap (a computer with no internet or bluetooth connection, it is also normal to remove or disconnect the hard disk, and if we get paranoid we can use a Thinkpad x230 with libreboot).
- A pendrive with Tails loaded. You know, download the iso from here, connect a new pendrive and with balena etcher load the ido in the pendrive.
Table of Contents
- Summary
- Necessary configuration of your usb key
- On Onlykey
- On Yubikey
- How to generate Fido2 keys and insert them in your hardware key
- How to view and delete Fido2 keys
- On Onlykey
- On Yubikey
- How to download SSH keys from your hardware key on any computer
- How to connect by SSH to your server with Fido2
- How to connect to Github via SSH with Fido2
Summary
This article is a step-by-step guide, but if you already know how to use your Onlykey or Yubikey and just need the essential commands, here they are.
This command generates and inserts into your Onlykey or Yubikey a fido2 key:
ssh-keygen -t ed25519-sk -O resident -O application=ssh:test2 -f ~/.ssh/rsa_id_test2 -P ""
cd ~/.ssh && ssh-keygen -K
Necessary configuration of your usb hardware key
Necessary configuration of your Onlykey
The key must have the 2 general pins and the fido pin. But it must be configured in a secure environment.
- If you have already used onlykey but want to start again, connect your onlykey to any computer and press 10 times a wrong pin.
- Start Tails on the airgap computer, open a notepad, connect the onlykey to the usb port and press the 3 key (of onlykey) for 3 seconds or more. Release the key and you will see a text inviting you to create 3 pins: the one for the first profile, the one for the second profile and a pin to factory reset the onlykey.
- The first pin is that of the first of the 2 profiles you can have. Write 2 times the pin.
- The second pin is the pin of the second profile. Write 2 times the pin.
- Finally it asks you to enter a pin to factory reset the onlykey.
- The Onlykey will light up with a steady green.
- Disconnect the key and go to a computer with your ubuntu.
- You have to configure the fido pin on an ubuntu and not on tails because you have to use an application that is not in Tails natively.
- Open a terminal and install onlykey-cli.
sudo apt update -y && sudo apt upgrade sudo apt install python3-pip python3-tk libusb-1.0-0-dev libudev-dev pip3 install onlykey wget https://raw.githubusercontent.com/trustcrypto/trustcrypto.github.io/pages/49-onlykey.rules sudo cp 49-onlykey.rules /etc/udev/rules.d/ #Este último comando hay que correrlo siendo usuario root. sudo su sudo udevadm control --reload-rules && udevadm trigger - Disconnect the computer from the internet.
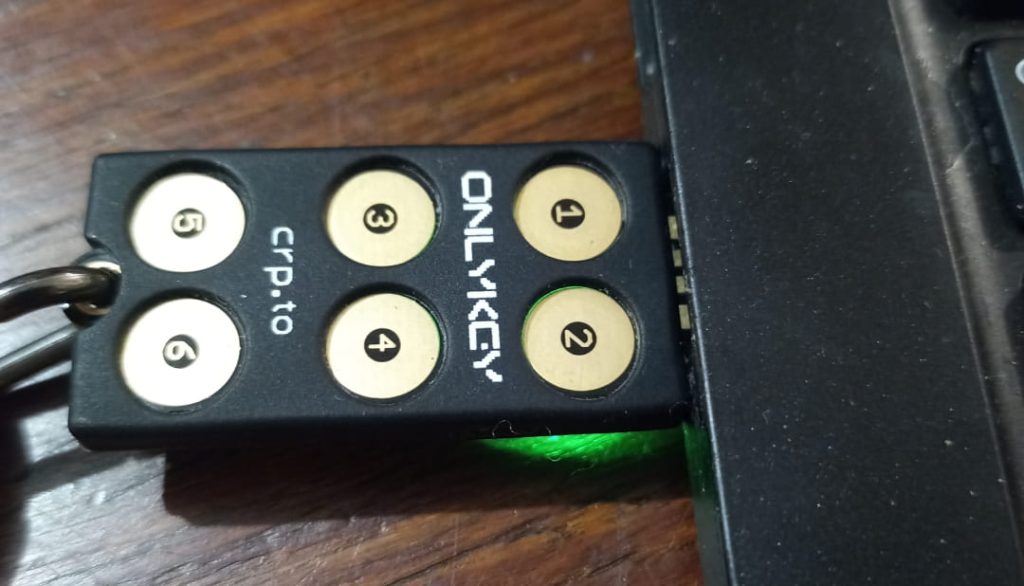
- Connect the Onlykey to your computer. Press the pin of the first profile. If you have done this correctly, the green LED will light up continuously.
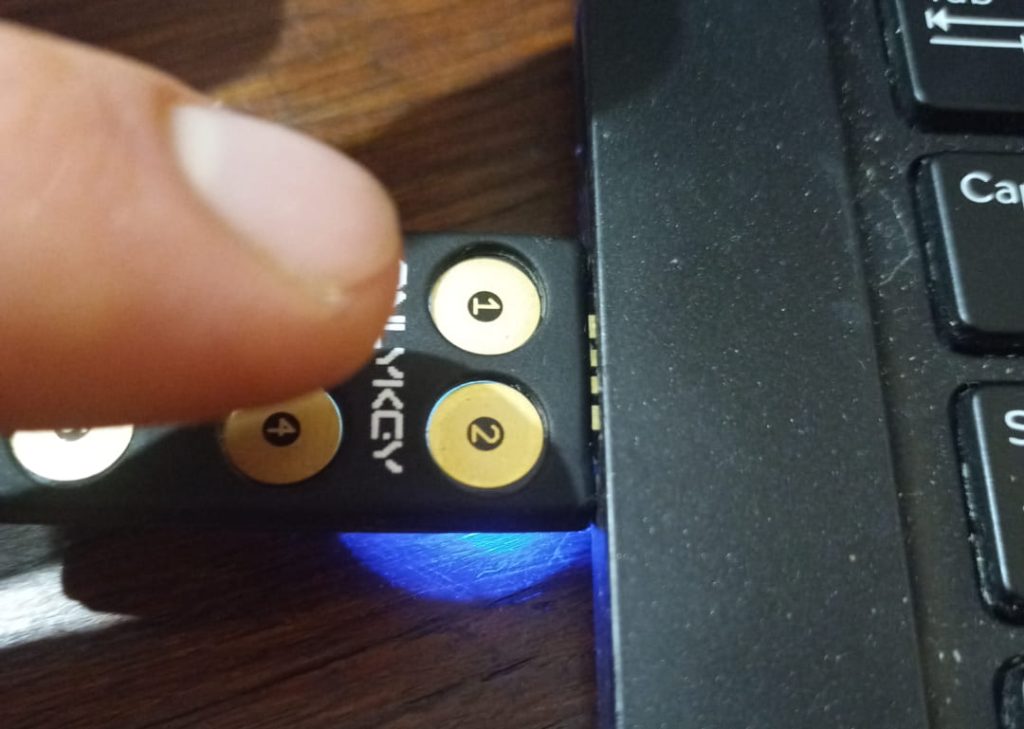
- Type this command in your terminal. If it lights up blue for a moment, everything is OK.
- If not, disconnect the onlykey, reconnect it, press the pin and type the command again.
onlykey-cli wink- Type this command in the terminal. When prompted, type with your computer keyboard the pin you choose for the fido2 keys.
onlykey-cli idletimeout 0
onlykey-cli set-pin- Close the terminal, disconnect the onlykey.
Necessary configuration of your Yubikey
If you have a Yubikey, the initial configuration process is as follows:
- Install the ykman program and any necessary utilities.
sudo apt-add-repository ppa:yubico/stable sudo apt update sudo apt install scdaemon yubikey-manager libpam-yubico libpam-u2f libu2f-udev - Change the pin to the Fido application
ykman fido access change-pinHow to generate Fido2 keys and put them in the hardware key
- Go to an airgap computer with Tails.
- Connect the hardware key. In the case of Yubikey just plug it in, in the case of Onlykey plug it in and press the pin. It will light up green.
- Open a terminal and type this command. As you can see I have called the key test2 and I am saving it in the .ssh folder with the name rsa_id_test2. You can change that to your liking. -P “” means that you don’t want to specify a passphrasse, so if you delete it, it will ask you to type a passphrasse. In the case of Yubikey, you can add to the command “-O verify-required” (If you add it to Onlykey it will give you an error when you use the key).
ssh-keygen -t ed25519-sk -O resident -O application=ssh:test2 -f ~/.ssh/rsa_id_test2 -P ""
When you run the command with the onlykey it will light up blue. You must press any key of your onlykey.
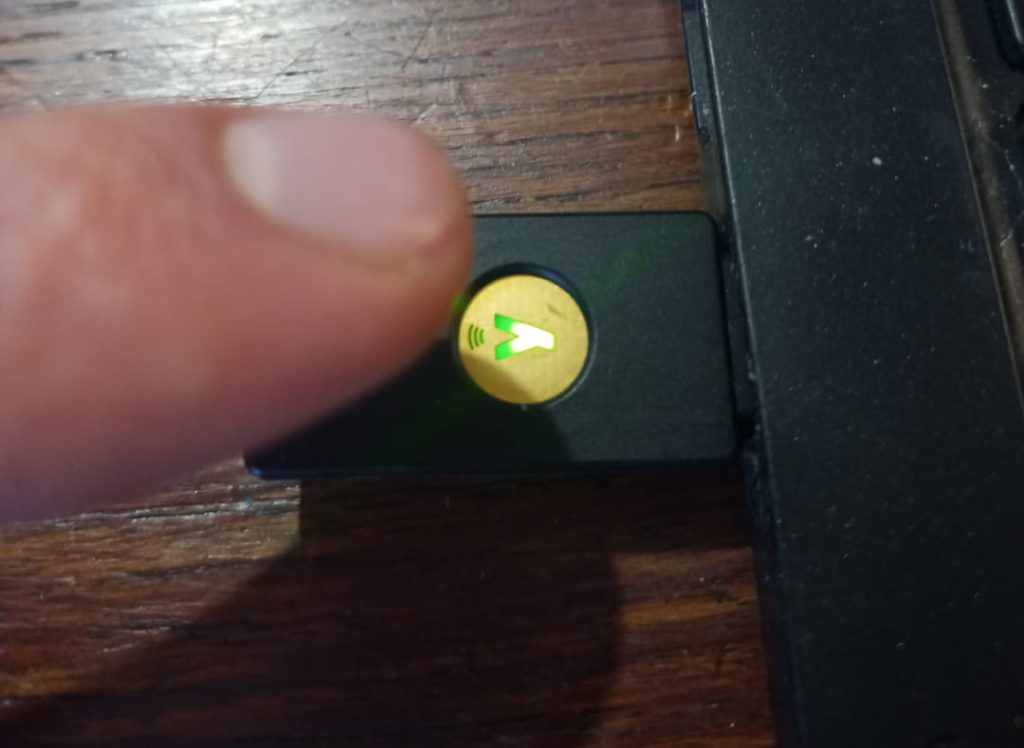
When you run the command with the Yubikey, the led will light up and you must press it.
Success. The key has been stored in your hardware key.
Disconnect the hardware key and you can now go to your usual computer with ubuntu.
How to view and delete Fido2 keys from the Onlykey
Connect the key and press your pin. It will light up green.
Open a terminal and type. You will see all the keys inside your onlykey. There are 12 keys per profile.onlykey-cli credential ls
To delete any of the keys you have to run this command by entering the id of the key you want to delete.onlykey-cli credential rm eu7LPI9SDG899DF8GD98FGDG9D8GSUSKFJSHDF99S0FUSFRJKSFSKnBL60+Yx+6hxSUYS1uxX9+AA==
How to view and delete Fido2 keys in Yubikey
I can see the list of fido keys in the yubikey like thisykman fido credentials list
You can delete fido keys like this. sj1 would be the name of the key to delete, and you can see it if you list the keys:ykman fido credentials listykman fido credentials delete -f sj1
How to download the SSH keys from your hardware key on any computer
The hardware key contains the keys, but we can download a public key and a private key (it is not the whole key, just a portion that refers to the private key that contains the hardware key, and therefore nothing happens if we expose it).
- Connect the Onlykey or Yubikey to your computer. In the case of the Onlykey press the pin to unlock it and it will light up green.
- Run this command and all the Fido2 keys will be downloaded to your computer.
cd ~/.ssh && ssh-keygen -K - You can see the public and private (partial) keys in ~/.ssh
ls ~/.ssh - Read your copy of your public key
cat ~/.ssh/rsa_id_test2.pub - Now you can get your public key to your server by editing ~/.ssh/authorized_keys and pasting the public key in a new line
nano ~/.ssh/authorized_keys
How to SSH to your server with the Fido2 key
It is actually the same as with any other ssh key but when you connect it will ask you to touch the hardware key to verify “you are there”. This way a hacker would not be able to steal your keys and use them, since he needs not only the other part of the private key and that cannot be taken out of the hardware key, but he would also have to come and physically tap it. The connection command is as it is always donessh -i ~/.ssh/rsa_id_test2 user@ip-del-server
The Onlykey will light up blue and tapping it will connect you to the server. It’s that easy.
The Yubikey will light up and you must touch it.
You can also use an alias by editing ~/.ssh/config. But in this case, to make it work perfectly you have to add a couple of configuration lines.
Host *
IdentitiesOnly=yes
PreferredAuthentications=publickey


## Servidor 1
Host miservidor
Hostname 73.47.149.280
User user
IdentityFile ~/.ssh/rsa_id_test2
Now you can connect in a more human way
ssh miservidorHow to connect to Github via SSH with Fido2
Fido2 can also be used to connect to github.
Go to github.com and login. In settings and in “SSH and GPG keys” add a new key. Paste the public key and save. To see your public key you can run a command like this
cat ~/.ssh/rsa_id_test2.pub
Now you can create an alias to connect in a more “human” way
nano ~/.ssh/config
Write the alias
############################
Github
############################
Host miusuariodegithub
HostName github.com
IdentityFile ~/.ssh/rsa_id_test2
Now you can connect via ssh to github The command would have this structure: git@alias: When I run the command it asks me to physically touch the hardware key
git clone git@miusuariodegithub:miusuariodegithub/configtpv.git /home/miuser/Desktop/